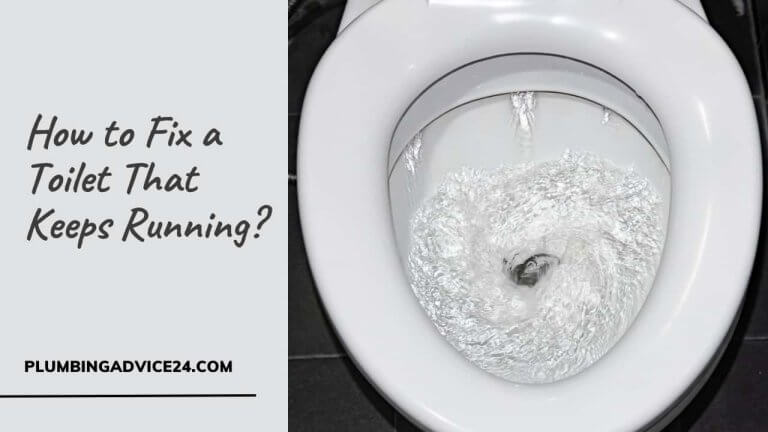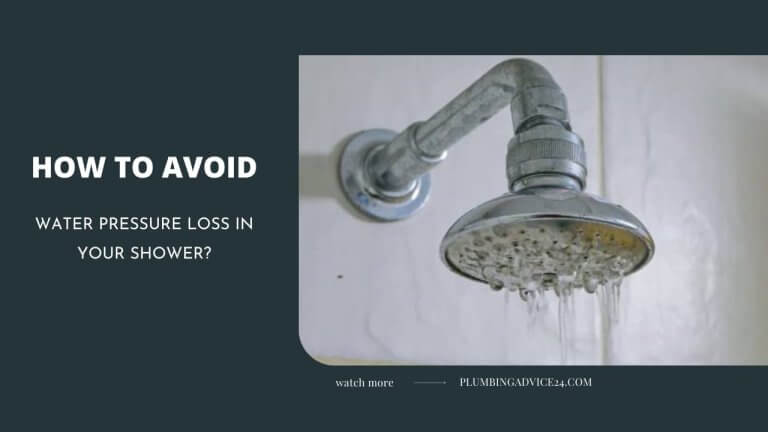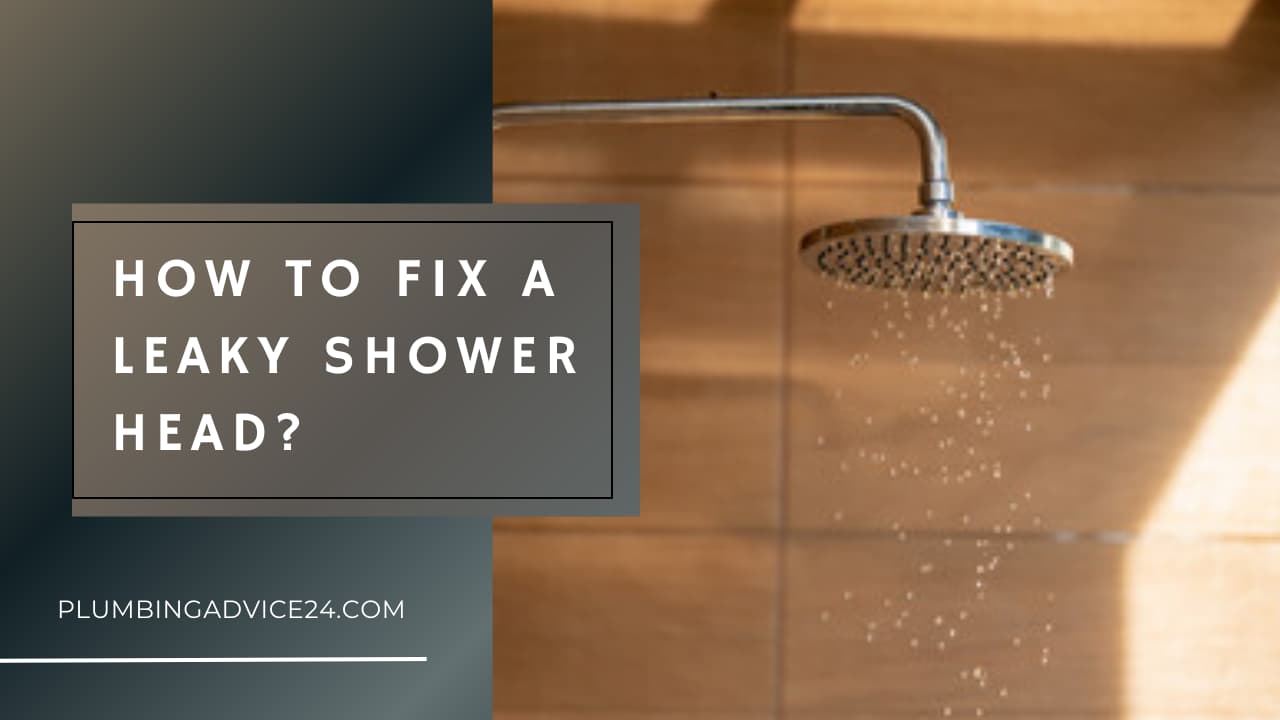
How to Fix a Leaky Shower Head?
The constant dripping of water from a leaky showerhead can make it difficult for you to sleep. But the problem goes beyond a simple annoyance. Your money is being squandered if household water meters are present in your community. Therefore, fixing a leaky showerhead will enhance your quality of life and enable you to conserve money and other resources. This article will guide how to fix a leaky shower head.
What Causes a Leaky Shower Head?
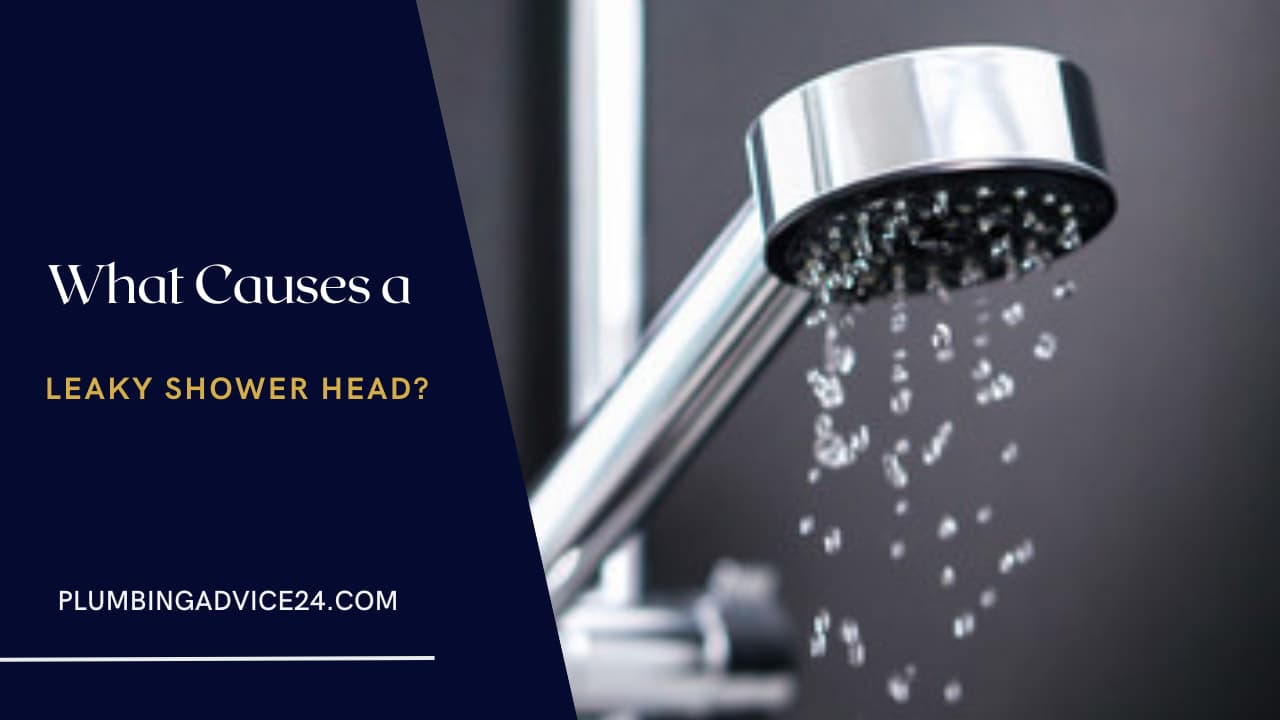
Hard water can cause mineral deposits and sediment to build up inside the shower head. Over time, these deposits can clog the opening of the shower head or affect internal components, leading to leaks.
However, the showerhead or handle that controls the flow of water is thought to be the most responsible for the problem. O-rings and washers become loosened or worn out over time and cause leaks. They are usually found inside the shower head joint or shower arm connection.
How to Fix a Leaky Shower Head?
A leaky shower head can waste a significant amount of water over time. The cost of repairing a leak is usually far less than the money wasted on excessive water usage. If a leak is left unattended, it can potentially cause more significant problems over time. Water leaks can cause water damage, including mold and mildew growth, which can be expensive and challenging to address.
Fixing a leaky shower head as soon as possible will not only save you water and money but also improve water pressure and prevent potential damage. Fixing a leaky shower head increases your overall comfort and satisfaction while using it, as well as extending its lifespan. Follow the steps below to fix a leaky shower head:
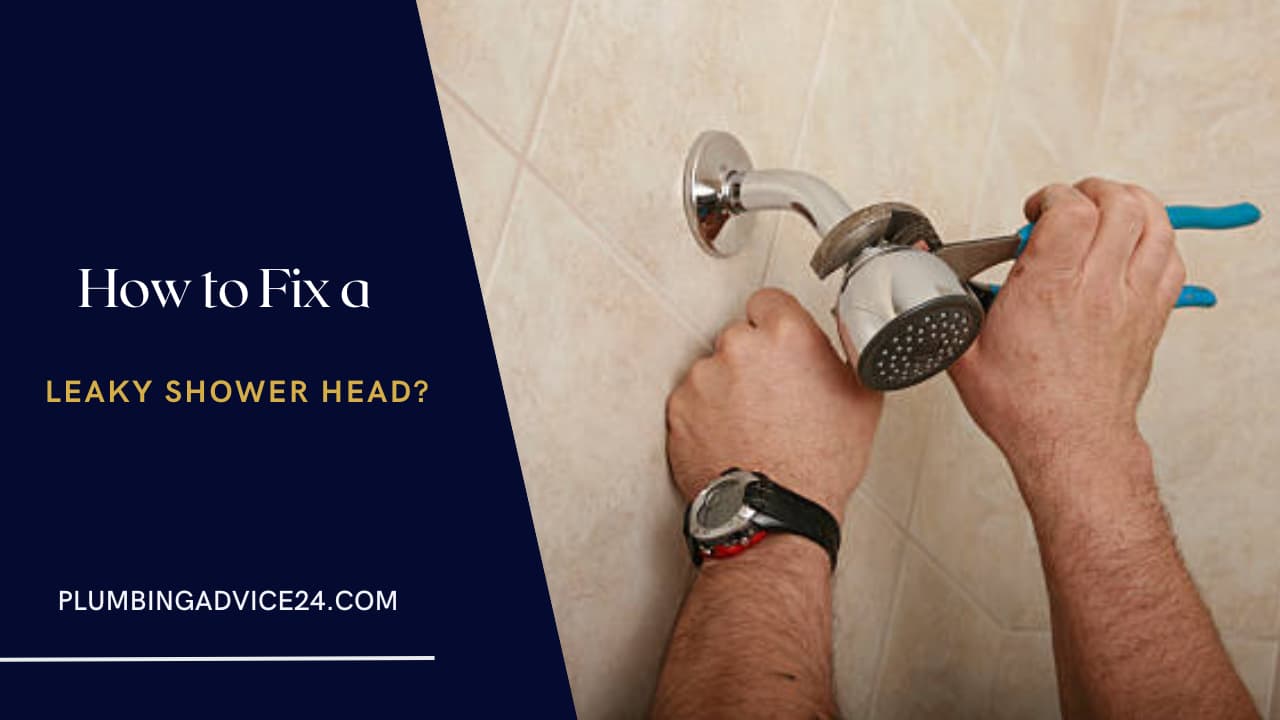
Remove the Showerhead
Turn the handle to the off position to make sure the shower is shut off. Make sure the showerhead isn’t dripping by checking. Turn the showerhead counterclockwise on the shower arm’s threaded end to remove it.
If you need help, wet a towel and use it to hold the showerhead. In some instances, channel-lock pliers can be necessary to remove the showerhead. This often implies that the showerhead is severely rusted and old and must be changed immediately.
Clean Your Shower Head
Remove any debris or mineral deposits that may have accumulated inside the shower head. The shower head will have a screen, rubber O-rings, and maybe additional parts. Verify that they are in excellent operating condition and are not damaged or silt-blocked.
A dirty shower head may be cleaned by soaking it in a bowl of white vinegar for several hours. The best cleaning method is this one. Give the pieces a short washing in cold water before reassembling them.
Wrap Pipe Threads
Start by removing any accumulated dirt from the shower arm threads with a small scrub brush. Use thread-sealing, often Teflon tape, for one or two spins afterward. Put everything together. As seen from the end of the shower arm, wrap the tape around the threads in the same direction as the threads, which is clockwise.
Replace the Showerhead
Replace the showerhead on the shower arm after turning the knob by hand. You may see how the water moves by briefly turning on the shower.
Replace the showerhead if the dripping sound only happens when the water is turned on. Unscrew the old shower head and screw on the new one to accomplish this.
How to Change a Cartridge in a Shower Faucet?
Most single-handle shower faucets are powered by an internal cartridge that may be changed. Rings and seals in this cartridge control the quantity and quality of water the shower head receives.
If this cartridge does not close correctly, water drips to the showerhead after turning off the handle. One of these cartridges may be replaced on your own if it starts to leak.
Turn Off the Water Flow.
To stop water flow to the shower head, close the valve. On the other side of the shower, a panel can hide the valves operating the temporary fixtures in your house.
Some bathroom faucets have screwdriver-operated cutoff buttons that can be used to stop water from flowing into the hot and cold supply tubes. Some bathroom faucets have cutoff valves built right into the faucet itself. After removing the escutcheon plate from the shower faucet, these controls are accessible.
Remove the Handle from the Faucet.
You can often remove the cap at the end of the shower tap handle with a screwdriver or utility knife and a little twisting. Remove the handle screw after removing the cover. The handle screw may sometimes need to be removed with a hex wrench.
Take Off the Escutcheon Plate.
The faucet valve is often covered by a sizable cover plate called an escutcheon, seen on sinks and bathtubs. After removing the screws holding the escutcheon to the wall, you may take it off. It may be necessary to cut the caulk bead covering the escutcheon to remove it.
Remove the Holding Clip.
The cartridge is often fastened inside the tap’s body using a metal clip. Make use of a flat-headed screwdriver to remove this U-shaped clip. On the cartridge’s end, washers may need to be taken off.
Some bathroom faucets have cartridges that must be removed to access the hex nut holding the tap to the wall.
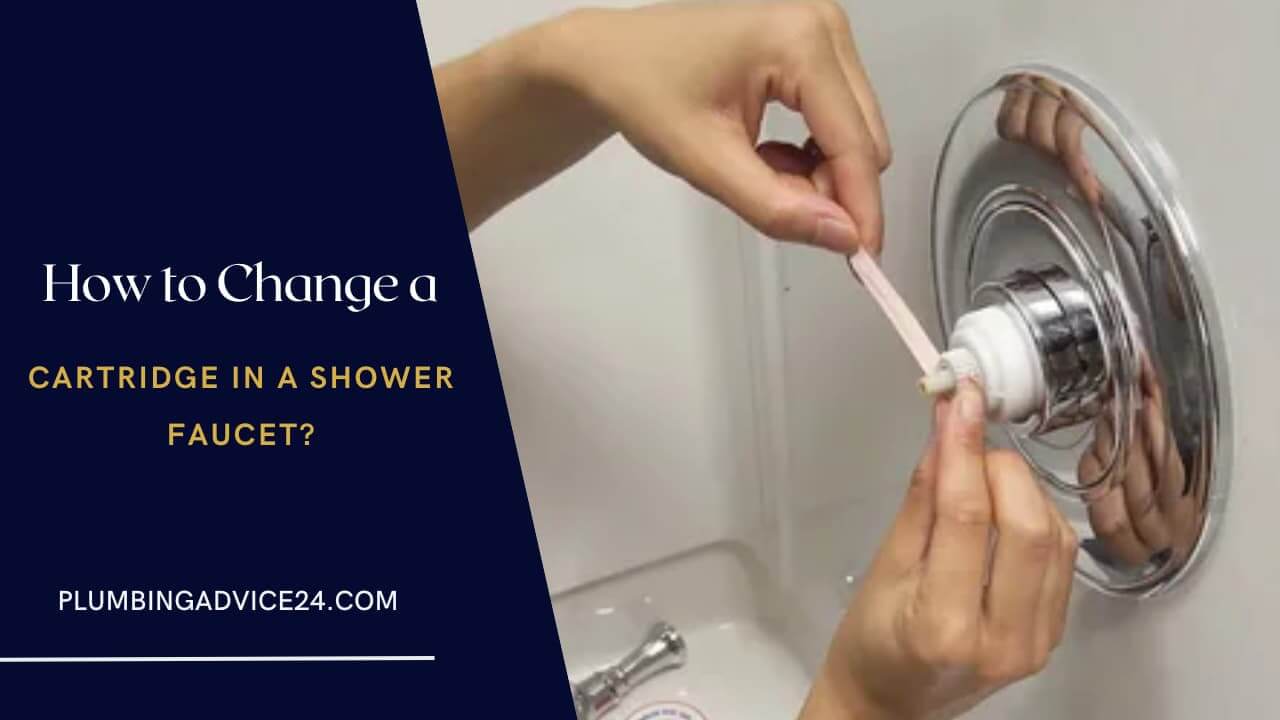
Slide the Cartridge Out of Its Position.
Remove the outdated one from the tap’s body to change out the cartridge. Usually, inserting or removing a cartridge doesn’t require flipping or twisting it. The cartridge head may sometimes need to be held in place while being turned; however. Thus channel-lock tools will be necessary.
Install New Cartridge.
When the tab on the new shower cartridge fits the opening on the faucet body, installing it is straightforward. Replace the locking clip and hex screw, if any, after inserting the cartridge. Any washers you removed should be replaced.
Replace the Escutcheon and Handle.
Just repeat the instructions in reverse order to replace the handle and cover plate. The water source’s closest faucet should be turned on. The new filter’s ability to control water flow will be shown by repeatedly turning on and off the shower.
Conclusion:-
We provide here information about how to fix a leaky shower head. You can go through these simple steps. Leaky showerheads are a common problem in households, wasting 700 gallons of water annually.
A broken connection at the shower arm, the slanted pipe that supports the showerhead and goes into the wall, may cause a leaky showerhead, but it is more likely that it has been damaged in some other way. Changing a leaky showerhead can improve the quality of life and help conserve cash and other resources.
Why Is My Shower Head Leaking?
Hard water can build up mineral deposits and sediment inside the shower head. Over time, these deposits can block the opening of the shower head or affect internal components, leading to leaks. Another possible cause is the o-rings and washers loosen or wear over time and cause leaks.
Is It Easy to Fix a Leaking Shower Head?
Fixing a leaking showerhead is generally considered a relatively simple task that most DIYers can do themselves. It usually requires basic tools and a few simple steps.
Is It Normal for Shower Head to Drip After Shower?
Yes, it is normal that the showerhead continues to drip for a short period of time after using it. But if it continues for too long it is not normal and needs to be addressed.
What Is the Fastest Way to Clean a Shower Head?
The fastest way to clean a shower head is to soak the dirty shower head in a bowl of white vinegar for several hours. Rinse the shower head components in cold water a few times before reassembling them.
How Often Should You Change Your Shower Head?
Shower heads should really be changed twice a year or every 6 to 8 months. Most people neglect to do this, of course, but the reasons for continuing replacements are more important than you might expect.