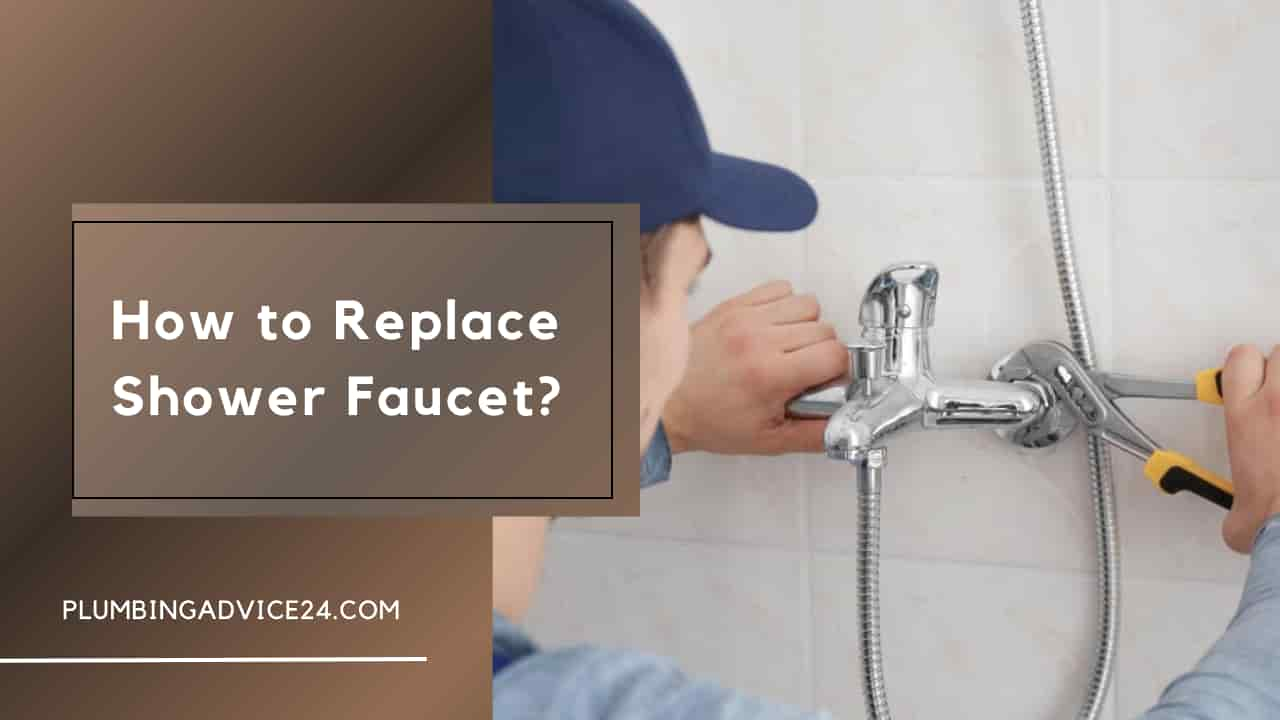
How to Replace Shower Faucet?
You may replace the shower faucet independently (DIY) to save your money. Before turning off the water, be sure you have the necessary equipment. Although replacing the shower faucet is a straightforward DIY job, remember that it is. To assist you in deciding whether you want to do the work yourself or contact a qualified local plumber, we’ve produced brief step-by-step instructions on replacing a shower faucet.
Most Common Shower Faucet Issues:
01. Leaking Showerhead.
After prolonged use, the gaskets and seals on the shower head may deteriorate, become brittle, fracture, or shatter. Therefore, water will leak from the shower head.
02. The Leaking Faucet’s Handle.
Water may leak from the area close to the tap handle due to deteriorating seals and coatings over time.
03. Clogged Shower Head.
Limescale, calcium, and other minerals are more likely to build up in the showerhead in places with hard water.
04. Low Water Pressure.
Clogged shower heads can result in poor water flow. There might be a couple of other problems, such as a broken mixing valve or a shower head that needs to be made to operate with the system.
A Detailed Guide on How to Replace Your Shower Faucet Step by Step.
You should know how much time and work it will take to replace the shower tap before you start. Review the installation instructions to know whether you can install your new faucet.
Step 1: Set up the work area.
Put a towel over the shower drain to stop small things from going down the drain. Afterward, arrange all your belongings, including an extra towel, in the shower or nearby.
Step 2: Turn off the Water.
You may need to remove an access panel from your shower or bathtub to access the water supply switch. If you don’t, you’ll have to turn off the water to the whole house. Open nearby faucets and leave them open after closing the main water valve to ensure no water is still coming into your home.
Step 3: Remove The Old Shower Head.
Many shower heads are attached to the wall-protruding pipe. You may remove the link by encasing it in a towel and tugging it apart with pliers. If you turn the knob anticlockwise (left), it ought to become more flexible.
Step 4: Remove your old tub, faucets, and knobs.
There are several ways to turn off a shower, depending on its brand, model, and style. You can reach the tap keys under some covers with a little tool. On others, remove the set screw just below the handle by using the proper Allen wrench.
If you take the lid or handle off, you can see what’s within. To dismantle them, either take out the screws or remove the screws.
The shower valve is the pipe that slightly projects from the wall; it may be reached by removing the other parts.
You’ll need a fresh towel, channel locks, and an anticlockwise twist to get the tap out of the tub. Before trying to dismantle it, observe whether any set screws need to be taken out.
Step 5: Install the new tub tap and knobs in place.
Ensure you have read and understood the instructions before installing your new shower tap. While some replacement faucets may use the cartridge from the old faucet, others could come with a fresh cartridge. Take out the old cartridge and replace it if your printer comes with a new one. Use a towel and channel locks to tighten the nut once inserted into the valve.
After that, as instructed by the manufacturer, cover it with the sleeve or cover included with the handle valve. Make careful to firmly attach the escutcheon and any additional trim pieces before installing them. Once the handle is in place, tighten the set screw as far as possible by rotating it clockwise. The hole should be filled with tap plugs.
You must take the old adaptor apart and replace it if the new one does not function with it. Once installed and securely fastened, the adaptor may accommodate the toilet tap. If brand-new taps are delivered with them, set screws must be put in.
Step 6: Install the new shower head.
Where the head joins the water line, wrap the Teflon tape anticlockwise around the threads. Manually tighten the threads after screwing the shower head onto the pipe. Utilise pliers and a fresh piece of cloth to finish the tightening operation.
Step 7: Turn on the water supply and look for leaks.
Before completely shutting the open faucet, let the water a few seconds to drain from it. Next, check the area surrounding the tap and shower head buttons for corrosion or water damage. Any linkages that are slack should be tightened. Turn on the taps to ensure water flows freely from the shower and the tub.
When Replace Shower Faucet Is the Better Option?
If none of the above solutions works, you want to consider your alternative possibilities. Before selecting a choice, think about how long you’ve had it. You could find replacing your outdated and ineffective shower system advantageous with a more up-to-date and effective one.
Even though a leaky shower faucet may seem like a straightforward remedy, the overall cost of repairs and replacement parts will probably be more than that of a new fixture. Long-term time and financial savings come from purchasing brand-new instruments instead of replacing broken ones.
Conclusion:-
The two most important things to remember when changing a toilet tap are that the user may be able to complete the task and that the cost of repairs and replacement parts will be more than the cost of a new faucet. Before deciding, think about how long you’ve had it. You could gain from replacing your old, useless shower setup with a more current and potent one. Finally, a plumber should be called immediately if a new shower faucet is required.
Can I Replace Shower Faucet Myself?
Yes, you can replace your shower faucet yourself. Even if you are not very experienced with bathing or plumbing projects, many of the steps required to replace an old or damaged shower faucet are relatively simple.
Can You Change the Shower Faucet Without Replacing the Valve?
Yes. In fact, sometimes, you can replace the shower faucet without replacing the valve. It makes the most sense to simply replace the shower handle without replacing the valve.